Bedroom Wall Decor Ideas bring warmth, personality, and creativity into every space. A cozy room feels more inviting when the walls reflect love and imagination. DIY projects make this possible because they are affordable, unique, and deeply meaningful. Instead of buying mass-produced art, you craft designs that tell your story. Simple touches like hand-painted patterns, framed notes, or glowing lights can transform blank walls into emotional focal points. With the right choices, your bedroom becomes not just a place to rest but a canvas of love and creativity.
Hand-Painted Accent Walls
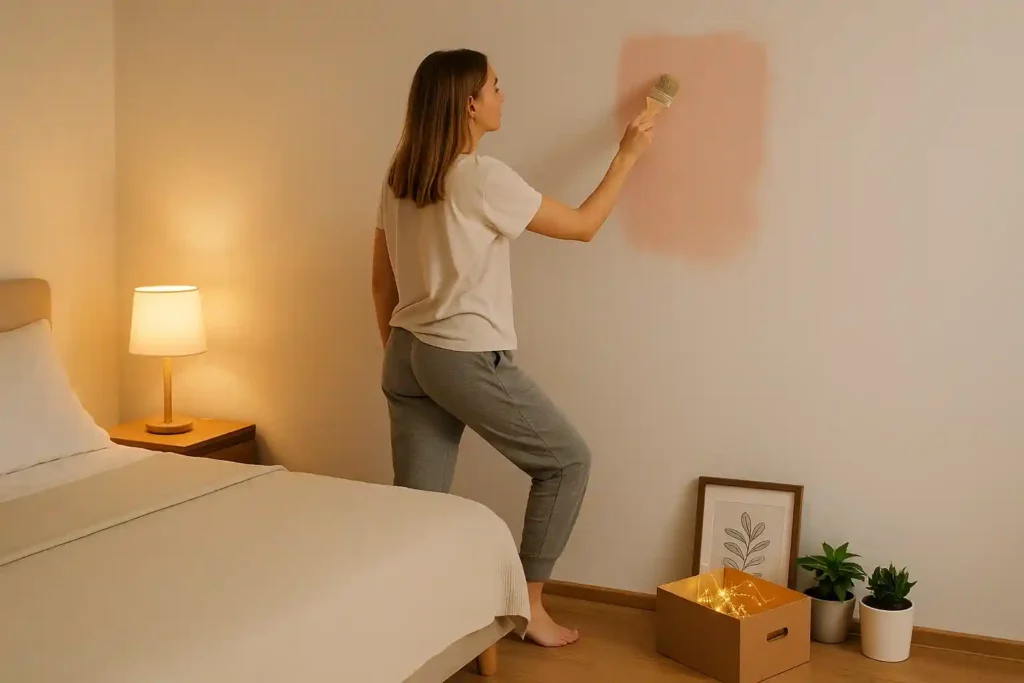
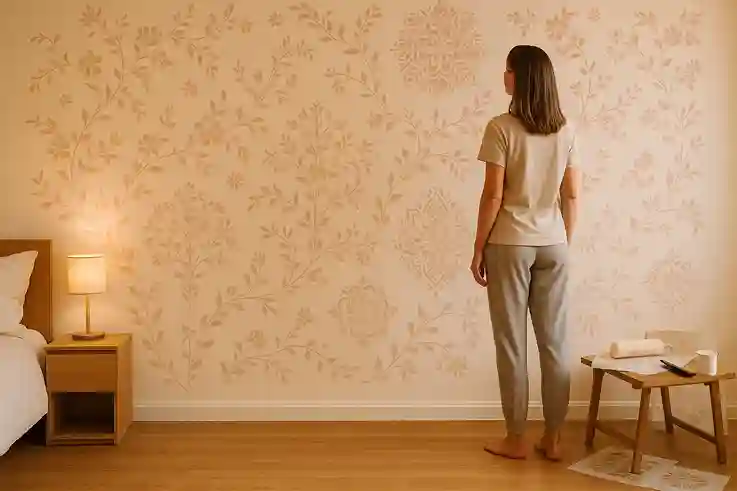
Hand-painted accent walls bring unique charm to your bedroom. They transform plain surfaces into personalized art pieces that reflect love and creativity. Moreover, this DIY approach makes your space affordable yet meaningful. With stencils, you get crisp, polished designs, while freehand painting adds individuality and soul. As a result, these Bedroom Wall Decor Ideas balance structure with expression, turning your room into a warm and inspiring retreat.
Use Stencils for Clean Designs
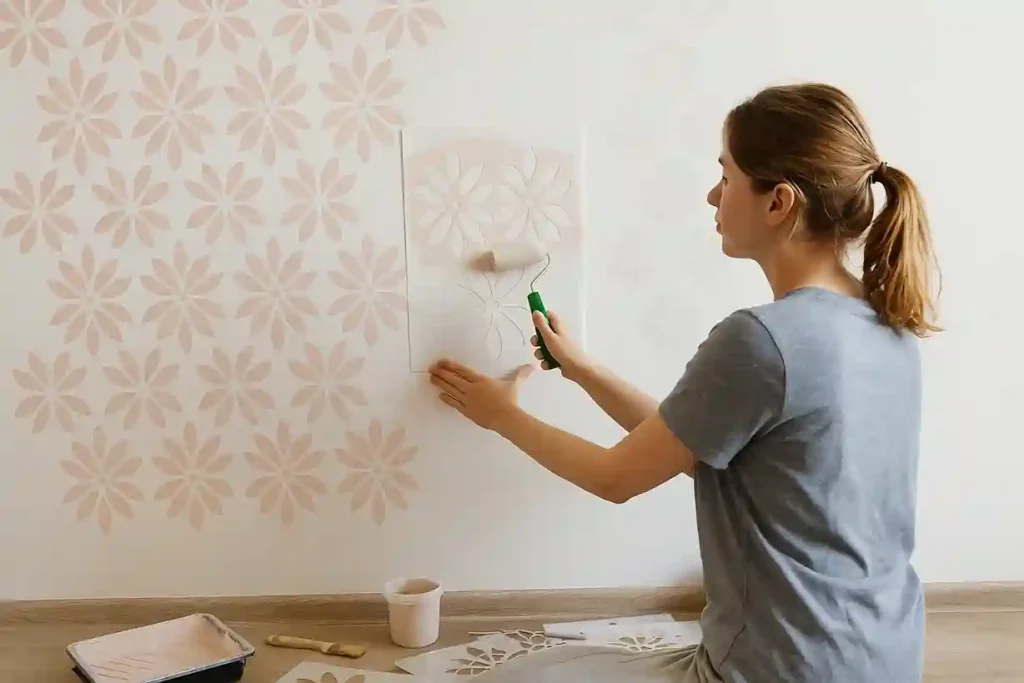
Stencils make Bedroom Wall Decor Ideas simple yet striking. They offer clear patterns, sharp edges, and endless design options. Moreover, they allow even beginners to achieve professional-looking walls without stress. From geometric shapes to delicate florals, stencils guide the brush while leaving room for creativity. As a result, your bedroom gains both structure and style in a budget-friendly way.
Prep the Wall First
looks smooth and even. Wash gently with mild soap and water to remove dust or residue. Then, patch nail holes or cracks with filler to create a level foundation. After repairs, sand the wall lightly. This step removes rough spots and ensures paint adheres properly. Once the surface feels smooth, roll on one even coat of primer or base paint. Choose matte or eggshell finishes for the best results. These finishes provide the right amount of grip, helping stencil edges stay crisp.
By taking the time to prep, you guarantee sharp lines and a professional finish. As a result, your stencil design not only enhances the room but also becomes one of the most lasting Bedroom Wall Decor Ideas you can create.
Choose the Right Stencil
Picking the right stencil is just as important as the painting itself. Always choose a reusable mylar stencil for durability. Thicker sheets stay flat against the wall and resist paint bleed, which ensures your design looks professional. Look closely at the details of the stencil. Small bridges within the pattern keep shapes connected and crisp, preventing distortion. Moreover, these tiny supports help maintain symmetry in more intricate designs.
Think about the size of your wall before you decide. Larger stencils save time on wide surfaces and work well for bold geometric patterns. On the other hand, smaller stencils offer finer detail, making them ideal for borders or delicate motifs. As a result, your Bedroom Wall Decor Ideas remain flexible, letting you adapt the design to any space.
Secure the Stencil Properly
Once you’ve chosen your design, securing the stencil becomes the next crucial step. Tape the stencil tightly to the wall so it doesn’t shift during painting. Press firmly along the edges to keep the pattern in place. For even sharper results, burnish the edges with a card or scraper. This seals small gaps and prevents paint from leaking underneath. Moreover, if your walls have a textured surface, use a light tack spray for extra grip. This adhesive holds the stencil flush, ensuring your lines stay crisp.
By taking time to secure the stencil properly, you guarantee a cleaner finish and a more polished look. As a result, your Bedroom Wall Decor Ideas appear intentional and professional.
Apply the Paint Correctly
Painting with a stencil requires patience and the right technique. Load a dense foam roller with a very small amount of paint. Then, offload the excess onto a tray or towel. The roller should feel almost dry before it touches the wall.
Next, apply the paint in multiple light passes. Begin at the stencil’s edges and move inward carefully. This method builds coverage gradually while preventing paint from seeping underneath the design. Moreover, light layering gives sharper lines and a smoother finish.
By keeping strokes controlled and pressure even, you create a polished look every time. As a result, these careful steps turn simple stenciling into professional-looking Bedroom Wall Decor Ideas that elevate your space.
Lift and Repeat
After painting, the removal process matters just as much as application. Carefully lift the stencil straight off the wall to avoid smudging the fresh paint. Do not slide it, as even small shifts can blur the design.
If your stencil has registration marks, align them precisely for the next repeat. This ensures the pattern stays consistent across the surface. Moreover, checking alignment often prevents gaps or overlaps that break the flow.
Continue the process until the wall feels balanced and the design appears seamless. Step back occasionally to review the overall look. As a result, your stencil work transforms into one of the most polished Bedroom Wall Decor Ideas, blending order with creativity.
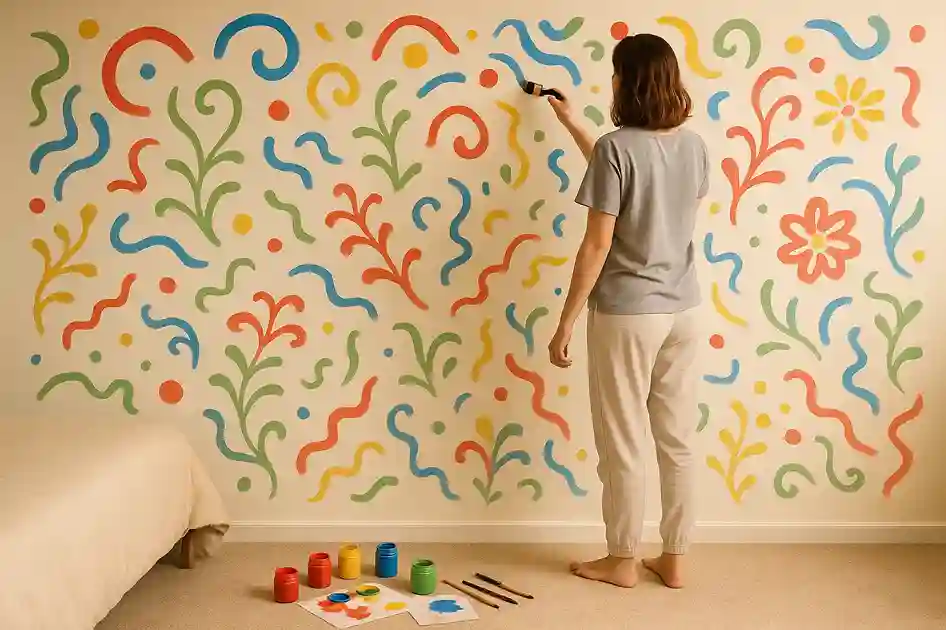
Freehand Adds a Personal Touch
Sketch a Guide First
Begin with a light sketch. Chalk works best because it wipes away easily. A soft pencil is another option. Keep lines faint so they vanish under paint. After the paint cures, erase any marks left behind. This simple step ensures clean results.
Use a Projector if Needed
If drawing feels tricky, project your design. A phone or mini projector works quickly. Scale the image to fit your wall space. Trace outlines lightly, then remove the projector. This method saves time and keeps proportions accurate.
Choose the Right Brush
Pick tools based on the design. A liner brush is perfect for vines, letters, and delicate curves. An angled sash brush helps shape petals and broad leaves. Soft bristles create smoother lines. Moreover, a variety pack gives you flexibility.
Practice Before Painting
Before painting the wall, test strokes on scrap cardboard or paper. Practice builds muscle memory. Try short, steady strokes rather than long sweeps. Short strokes keep better control, especially for beginners. Once confident, move to the wall.
Outline and Fill Shapes
Begin by outlining gently. Keep the brush angle steady. Fill in shapes with thin, even layers. Build up the color gradually instead of flooding areas. Multiple coats add richness without drips. Step back often to check balance.
Geometric Shapes
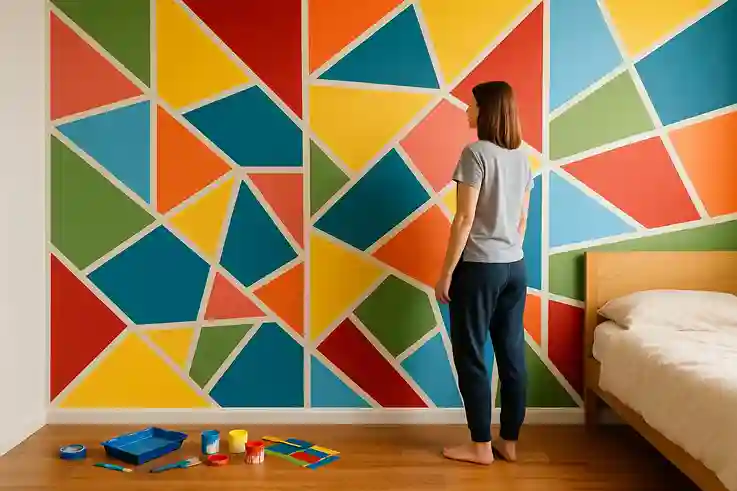
Start With Tape
Begin by marking the design using painter’s tape. Create grids, chevrons, or diamond patterns depending on your style. Press the tape edges firmly against the wall. This step prevents paint from bleeding underneath. Sharp lines give a professional look.
Keep Repeats Consistent
Measure spacing with a ruler. Use a level to check angles. Consistency keeps the pattern balanced across the wall. Therefore, your lines stay true, and the design feels intentional instead of random.
Play With Color Contrast
Choose high-contrast shades for bold impact. Black with white, or navy with gold, creates dramatic energy. For a softer effect, go tone-on-tone. For instance, pale gray with white feels calm and subtle. Add one metallic stripe for a touch of glam. This small detail makes the wall stand out.
Floral Bedroom Wall Decor Ideas
Block Simple Blooms First
Start by sketching basic flower shapes. Use circles for centers, ovals for petals, and teardrops for leaves. These simple forms build the foundation. Keep the layout loose, not rigid. Then move into details once the shapes feel balanced.
Layer Petals From Light to Dark
Begin with lighter tones as a base layer. Soft pink, cream, or pale yellow works beautifully. Add mid-tones for depth. Then finish with darker shades to create dimension. Pull fine veins with a liner brush for realism. This layering gives flowers texture and life.
Position Clusters Thoughtfully
Concentrate floral clusters above or near the headboard. This draws the eye and frames the bed naturally. Spread blooms lightly across the wall but taper the density toward corners. As a result, the design feels airy, not crowded. The room breathes and maintains flow.
Add Optional Highlights
Use metallic accents like gold centers or silver veins for a subtle glow. These highlights catch light at night and add romance. A few dots of white paint also make petals look fresh.
“Flowers on your walls don’t just decorate—they breathe life, love, and creativity into every corner of your bedroom.”
Color Strategy
Pick a Balanced Palette
Choose two to three hues only. Anchor the design with one neutral. Add one accent shade for extra energy. This keeps the wall harmonious without overwhelming the space.
Match Mood With Tones
Warm colors feel romantic and cozy. Reds, corals, and soft pinks create passion. Cool colors calm the mind. Blues, greens, and lavenders bring peace. Metallics add sparkle, especially at night under soft lighting.
Test Before You Paint
Always test swatches on the wall. Check them during both day and night. Natural light changes tones across hours. Therefore, decide only after viewing in every condition. This ensures the final result matches your vision.
Scale and Placement
Match Motifs to Space
Large motifs work best on wide walls. They fill space without looking crowded. Small repeats, however, fit nooks or alcoves. They add charm without overpowering the area.
Position the Feature Smartly
Center the main design above the bed. This makes the headboard and wall feel unified. Keep 8–12 inches clear near corners. That spacing prevents the design from feeling cramped.
Fade at the Edges
Let patterns soften as they near edges. Fading detail creates a natural flow. Therefore, the wall feels intentional instead of cut off. The design blends into the room rather than stopping abruptly.
Why This Bedroom Wall Decor Idea Shines
Hand-painted accent walls combine artistry with intention. Stencils deliver crisp structure, ensuring your design feels neat and polished. At the same time, freehand techniques add soul, letting you infuse the wall with personal meaning. Together, these approaches create unforgettable Bedroom Wall Decor Ideas that balance precision with creativity.
Moreover, painting your own wall allows you to craft a space that reflects love and imagination. A stencil can bring geometric order, while freehand strokes add organic flow. When paired, they create harmony that feels both structured and expressive. Consequently, your bedroom becomes more than a resting place—it transforms into a canvas that reflects your story.
Color choices also play a vital role. Warm tones inspire romance and coziness. Cool shades bring peace and calm. Metallic accents, when added sparingly, sparkle softly under night lighting. As a result, your room feels alive at every hour of the day.
Ultimately, hand-painted accent walls highlight the beauty of doing it yourself. Each brushstroke carries intention, whether guided by stencils or freehand creativity. Therefore, this idea not only refreshes blank walls but also inspires love, joy, and lasting connection within your bedroom.
Stencil Painting Supply List
| Item | Approx. Price (USD) | Notes |
|---|---|---|
| Reusable Mylar Stencil | $8 – $15 | Thicker sheets resist paint bleed |
| Painter’s Tape (Roll) | $5 – $7 | Seals stencil edges tightly |
| Light Tack Spray Adhesive | $6 – $10 | Helpful for textured walls |
| Dense Foam Roller | $4 – $6 | Best for light paint loads |
| Paint Tray and Liners | $5 – $8 | Keeps paint organized, easy cleanup |
| Low-VOC Latex Paint (Qt) | $15 – $20 | One quart covers most wall projects |
| Primer (Quart) | $12 – $16 | Smooth, even base coat |
| Chalk or Pencil | $1 – $3 | For sketching guides before painting |
| Burnishing Card/Scraper | $2 – $4 | Seals stencil edges neatly |
| Drop Cloth | $8 – $12 | Protects floors and furniture from splatters |
Transform Your Blank Walls with DIY Wall Decor Ideas — a blog that gathers creative wall decor projects.
(FAQ) Bedroom Wall Decor Ideas
Conclusion Bedroom Wall Decor Ideas
DIY projects make bedrooms feel more personal, creative, and love-filled. First of all, stenciled patterns and freehand art transform plain walls into expressive designs. Moreover, these Bedroom Wall Decor Ideas remain affordable, flexible, and meaningful for any space. When it comes to color, texture, and shape, every choice tells your story. For example, floating shelves, floral accents, or abstract lines can inspire both calm and connection. As a result, your bedroom becomes more than a resting space—it turns into a reflection of who you are.
In addition, the beauty of DIY wall decor lies in its freedom. You can experiment with techniques, mix styles, or refresh designs whenever inspiration strikes. Whether bold or subtle, each project adds warmth and creativity that store-bought decor cannot match. Ultimately, the process matters as much as the result. So, start small, enjoy the journey, and let your walls come alive with love and artistry. After all, the best bedrooms are the ones that feel truly yours
💡 Now it’s your turn! Which of these Bedroom Wall Decor Ideas inspires you the most?
Have you tried stenciling, freehand painting, or another DIY wall project before?
Share your experience in the comments—I’d love to hear how you’ve added love and creativity to your own space.

Amber Hexshot is a creative blogger with a specialty in home décor, where she shares fresh ideas on design, styling, and creating inviting spaces. With a keen eye for detail and a love for transforming everyday rooms into inspiring environments, she enjoys helping readers bring beauty and personality into their homes. Beyond décor, Amber also explores other topics such as lifestyle, travel, and personal growth, offering a wide variety of content that resonates with her audience.
When she’s not writing, Amber loves visiting art galleries, experimenting with DIY projects, and discovering unique design trends from around the world. Her approachable tone and practical advice make her blogs both inspiring and easy to follow.